Best Settings for Capcut Pro APK Performance
October 27, 2026 (2 weeks ago)
CapCut can run smoothly on many Android devices, but performance depends heavily on the settings you choose while editing and exporting. If you are using a CapCut Pro APK, remember that APK packages are Android-only, and this guide is for general optimization, not a safety review or official recommendation. This site is independent and is not affiliated with CapCut, ByteDance, or any official distributor. Also, premium CapCut features require the correct membership in the official app, and feature availability can vary by device, region, platform, and plan.
Choose the Right Project Settings First
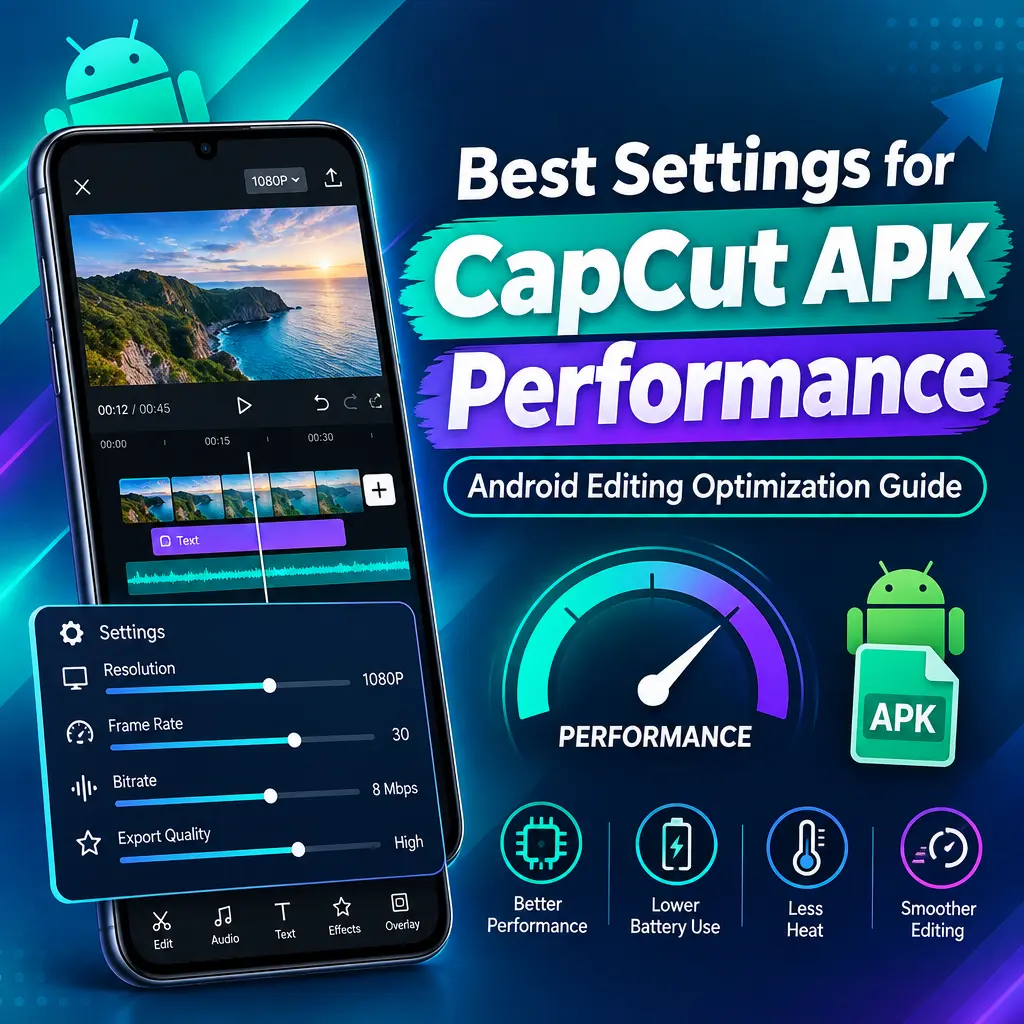
The best performance starts before you add your first clip. If your project settings are too heavy for your phone, the app may lag, freeze, or take a long time to export. A smart approach is to match your project settings to the footage you actually need, instead of always choosing the highest possible option.
- Resolution: Use 720p or 1080p for social media videos, short edits, and content that does not need ultra-sharp detail.
- Frame rate: Match the frame rate of your original clips when possible. If your clips are recorded at 30 fps, exporting at 30 fps usually gives smoother results than forcing a higher rate.
- Aspect ratio: Pick the correct format at the beginning. Use 9:16 for TikTok, Reels, and Shorts, 16:9 for YouTube, and 1:1 for square posts.
- Canvas: Avoid changing canvas size many times during editing, as it can add extra processing work.
Higher resolution and higher frame rates can look better in some cases, but they also use more storage, memory, and processing power. For most phone edits, balanced settings are better than maximum settings.
Use Lower Preview Quality While Editing
Preview quality affects how smoothly your timeline plays while you edit. It does not always need to match your final export quality. If your video stutters during playback, lowering preview quality can make editing much easier.
- Open your project and play the timeline.
- If playback feels slow, reduce the preview quality if the option is available on your device.
- Use lower preview quality while cutting, trimming, and arranging clips.
- Switch back to a higher preview level only when checking fine details before export.
This is especially helpful when working with long videos, multiple layers, filters, transitions, captions, or background removal. The final export can still use your chosen export settings, depending on the app options available to you.
Keep the Timeline Clean and Organized
CapCut supports useful editing tools such as trimming, splitting, multitrack editing, captions, effects, transitions, and background removal. These features are powerful, but using too many at once can slow down your device. A clean timeline helps the app process your project more efficiently.
- Delete unused clips instead of leaving them hidden or muted.
- Trim long clips before adding effects or captions.
- Use fewer video layers when possible.
- Apply effects only where they are needed, not across the entire timeline by default.
- Group similar edits together so your project is easier to manage.
If a project starts lagging, duplicate it and simplify the copy. Remove extra effects, overlays, stickers, or unused audio tracks, then test playback again. This can help you find what is causing the slowdown.
Optimize Effects, Filters, and Transitions
Effects and transitions can make a video more engaging, but heavy visual processing may reduce performance on some Android devices. Background removal, motion effects, blur, beauty filters, auto captions, and layered animations can all require extra processing.
- Use simple transitions for most cuts.
- Apply advanced effects only to short sections.
- Avoid stacking several filters on the same clip unless needed.
- Preview effects one at a time before adding more.
- Remove effects that do not improve the final video.
A good editing rule is simple: if an effect does not improve the message, remove it. This keeps your project smoother and often makes the final video look cleaner.
Manage Captions and Text Carefully
Captions, subtitles, and text animations are common in short-form video editing. CapCut may support caption tools depending on your platform, device, region, and plan. To improve performance, avoid overloading the timeline with too many animated text elements.
- Use one or two text styles throughout the video.
- Keep text animations short and simple.
- Avoid placing multiple animated captions on top of each other.
- Check spelling and timing before export to avoid repeated rendering.
If auto captions are available, generate them after your main cuts are done. Editing captions before trimming your video can create extra work and may affect timeline responsiveness.
Clear Cache and Free Up Storage
Video editing apps need plenty of free storage to process media, previews, cache files, and exported videos. If your phone storage is nearly full, performance can drop quickly. Keeping enough free space is one of the easiest ways to improve stability.
- Remove old exported videos you no longer need.
- Delete unused project drafts.
- Clear app cache from CapCut settings if the option is available.
- Move large media files to cloud storage or an external drive.
- Restart your phone after clearing a large amount of storage.
Do not delete original files unless you are sure they are backed up. If a project depends on local media, removing the source clips may break the project or cause missing file errors.
Use Smart Export Settings
Export settings should match your goal. A quick video for social media does not always need the highest possible quality. Large export settings can increase file size, export time, heat, and battery use.
- For quick social posts: 720p or 1080p is often practical.
- For cleaner detail: Choose a higher resolution only if your original footage supports it and your device handles it well.
- For smoother motion: Match the frame rate of your original video instead of forcing a different one.
- For smaller files: Use moderate export settings rather than maximum quality.
Some devices and app versions may offer more export options than others. Do not assume every Android phone will support the same resolution, frame rate, or codec choices. If an export fails, lower the resolution or frame rate and try again.
Improve Device Performance Before Editing
Your phone’s condition matters as much as the app settings. Video editing uses CPU, GPU, RAM, battery, and storage at the same time. A few device-level adjustments can make CapCut feel smoother.
- Close unused apps before opening CapCut.
- Turn off battery saver while editing if it limits performance.
- Keep your phone cool and avoid editing while it is overheating.
- Use a stable internet connection for cloud-based tools, templates, or asset downloads.
- Charge your device before long editing sessions.
If your phone becomes hot, pause editing for a few minutes. Heat can reduce performance and may cause apps to slow down. Editing in shorter sessions can help when working on larger projects.
Best Balanced Settings for Smooth Editing
For most Android users, the best CapCut performance comes from balanced settings rather than maximum settings. Start with 1080p, match the original frame rate, use simple transitions, reduce preview quality while editing, and keep your timeline clean. Add advanced effects only where they are needed, and clear cache or storage when projects become slow.
CapCut offers many creative tools for trimming, splitting, multitrack editing, captions, effects, transitions, and background removal, but availability can vary. If you use a CapCut Pro APK, be careful with claims about unlocked features, watermark-free exports, or subscription access. The most reliable way to access CapCut Pro features is through the proper membership in the official app. For performance, focus on smart settings, clean projects, and realistic export choices.
Recommended For You